This tutorial will walk you through creation of your account and a test study in Qiita.
Getting CMI Workshop example data
There are two separate example datasets made available to you - a processing dataset containing raw sequencing files which we will process to generate information about the identity and relative amounts of microbes in our samples (n=14), and an analysis dataset which contains a unique set of pre-processed samples (n=30) which we will use for statistical and community analyses.
Processing dataset
You can download the processing dataset directly from GitHub. These files contain 16S rRNA microbiome data for 14 human skin samples. It is a subset of data that we will use later for analysis. Real sequencing data can be tens of gigabytes in size!
The files are:
- CMI_workshop_lane1_S1_L001_R1_001.fastq.gz # 16S sequences - forward reads
- CMI_workshop_lane1_S1_L001_R2_001.fastq.gz # 16S sequences - reverse reads
- CMI_workshop_lane1_S1_L001_I1_001.fastq.gz # 16S sequences - barcodes
- sample_info.txt # The sample information file
- prep_info_16S.txt # The preparation information file
Analysis dataset
Example data that you can use for analysis are available to you directly on Qiita. You don’t need to download anything to your hard drive. Instructions how to access these data are provided in the analysis tutorial.
Setting up Qiita
Signing up for a Qiita account
Open your browser (it must be Chrome or Firefox) and go to Qiita (https://qiita.ucsd.edu).
Click on “Sign Up” on the upper-right-hand corner.

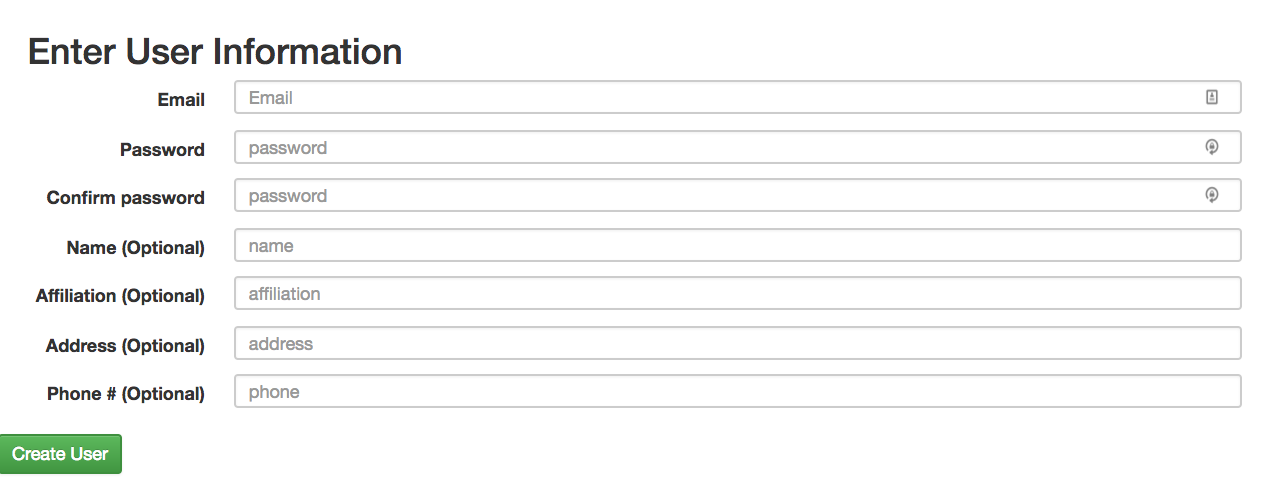
The “New User” link brings you to a page on which you can create a new account. Optional fields are indicated explicitly, while all other fields are required.
Once the form is submitted, an email will be sent to you containing instructions on how to verify your email address.
Logging into your account and resetting a forgotten password
Once you have created your account, you can log into the system by entering your email and password.

If you forget your password, you will need to reset it. Click on “Forgot Password”.
This will take you to a page on which to enter your email address; once you click the “Reset Password” button, the system will send you further instructions on how to reset your lost password.
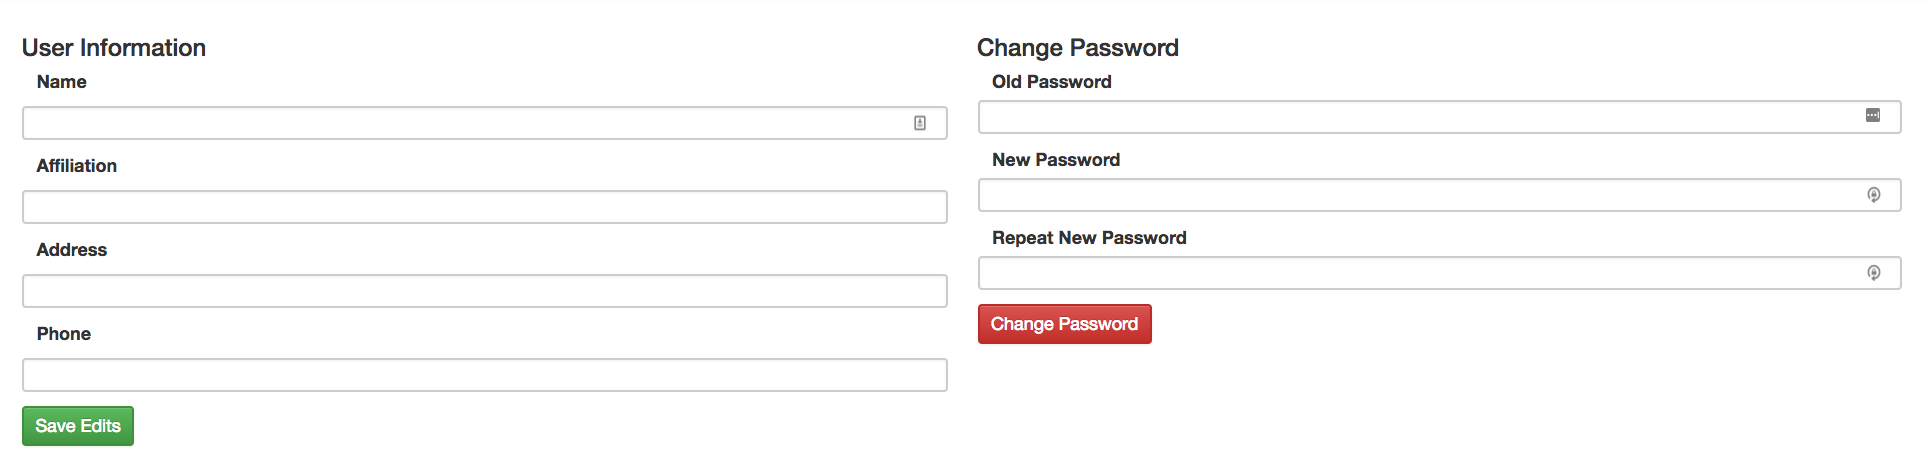
Updating your settings and changing your password
If you need to reset your password or change any general information in your account, click on your email at the top right corner of the menu bar to access the page on which you can perform these tasks.
Studies in Qiita
Studies are the source of data for Qiita. Studies can contain only one set of samples but can contain multiple sets of raw data, each of which can have a different preparation – for example, 16S, shotgun metagenomics, and metabolomics, or even multiple preparations of the same type (e.g., a plate rerun, biological and technical replicates, etc).
In the analysis tutorial, our study contains 30 samples, each with two types of data: 16S and metabolomic. To represent this project in Qiita, we created a single study with a single sample information file that contains all 30 samples. Then, we linked separate preparation files for each data type.
Creating an example study
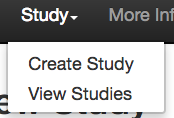
To create a study, click on the “Study” menu and then on “Create Study”. This will take you to a new page that will gather some basic information to create your study.
The “Study Title” has to be unique system-wide. Qiita will check this when you try to create the study, and may ask you to alter the study name if the one you provide is already in use.
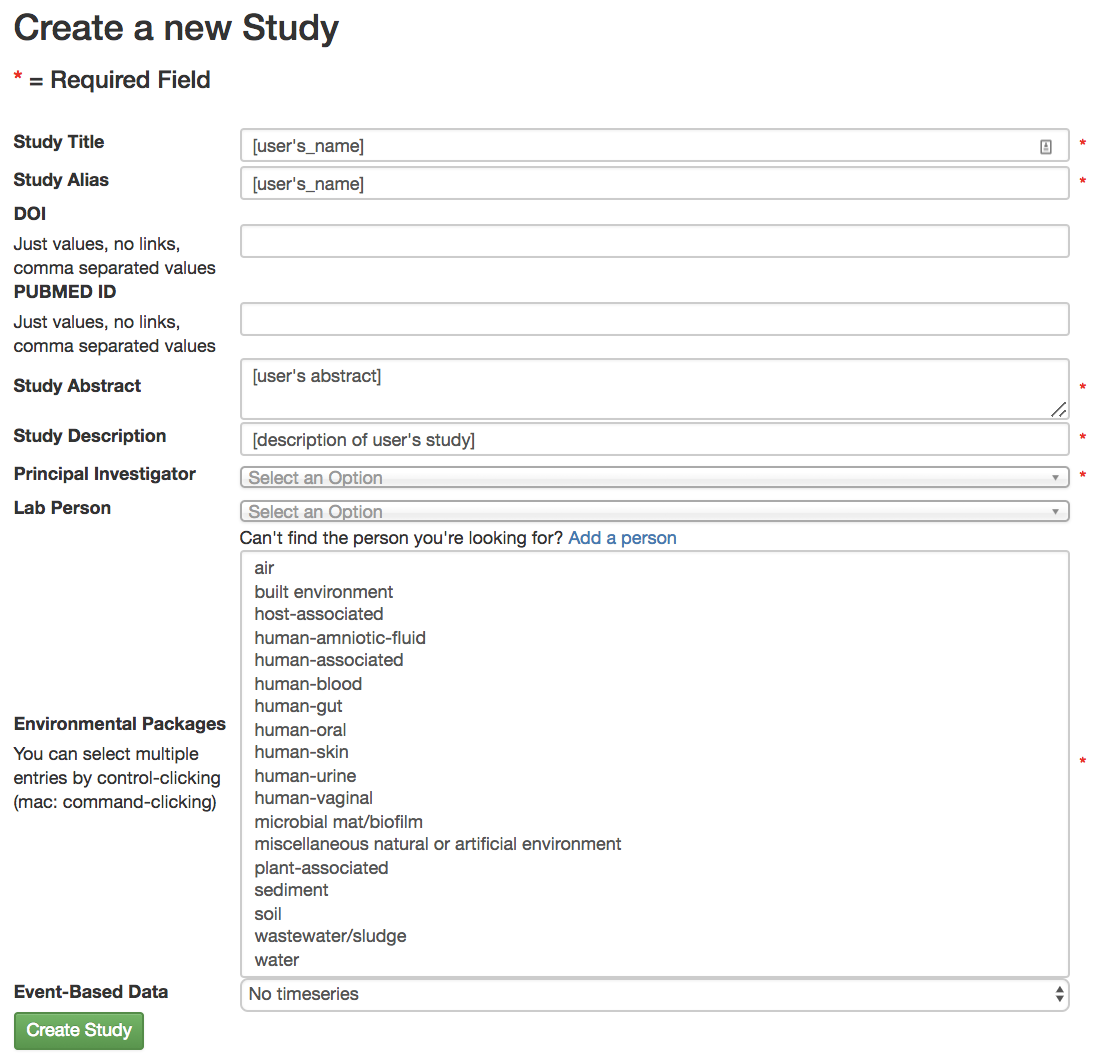
A principal investigator is required, and a list of known PIs is provided. If you cannot find the name you are looking for in this list, you can choose to add a new one.
Select the environmental package appropriate to your study. Different packages will request different specific information about your samples. For more details, see the publication. For this test study for the processing tutorial, choose human-skin.
There is also an option to specify time series type (“Event-Based Data”) if you have such data. In our case, the samples come from a time series study design, so you should select “multiple intervention, real”. For more information on time series types, you can check out the in-depth tutorial on the Qiita website.
Once your study has been created, you will be informed by a green message; click on the study name to begin adding your data.
Adding sample information
Sample information is the set of metadata that pertains to your biological samples: these are the measured variables that are motivating you to look for response variables in the microbiome. IMPORTANT: your metadata are your study; it is imperative that those data are consistent, correct, and sufficiently detailed. (To learn more, including how to format your own sample info file, check out the in-depth documentation on the Qiita website.)
The first point of entrance to a study is the study description page. Here you will be able to edit the study info, upload files, and manage all other aspects of your study.
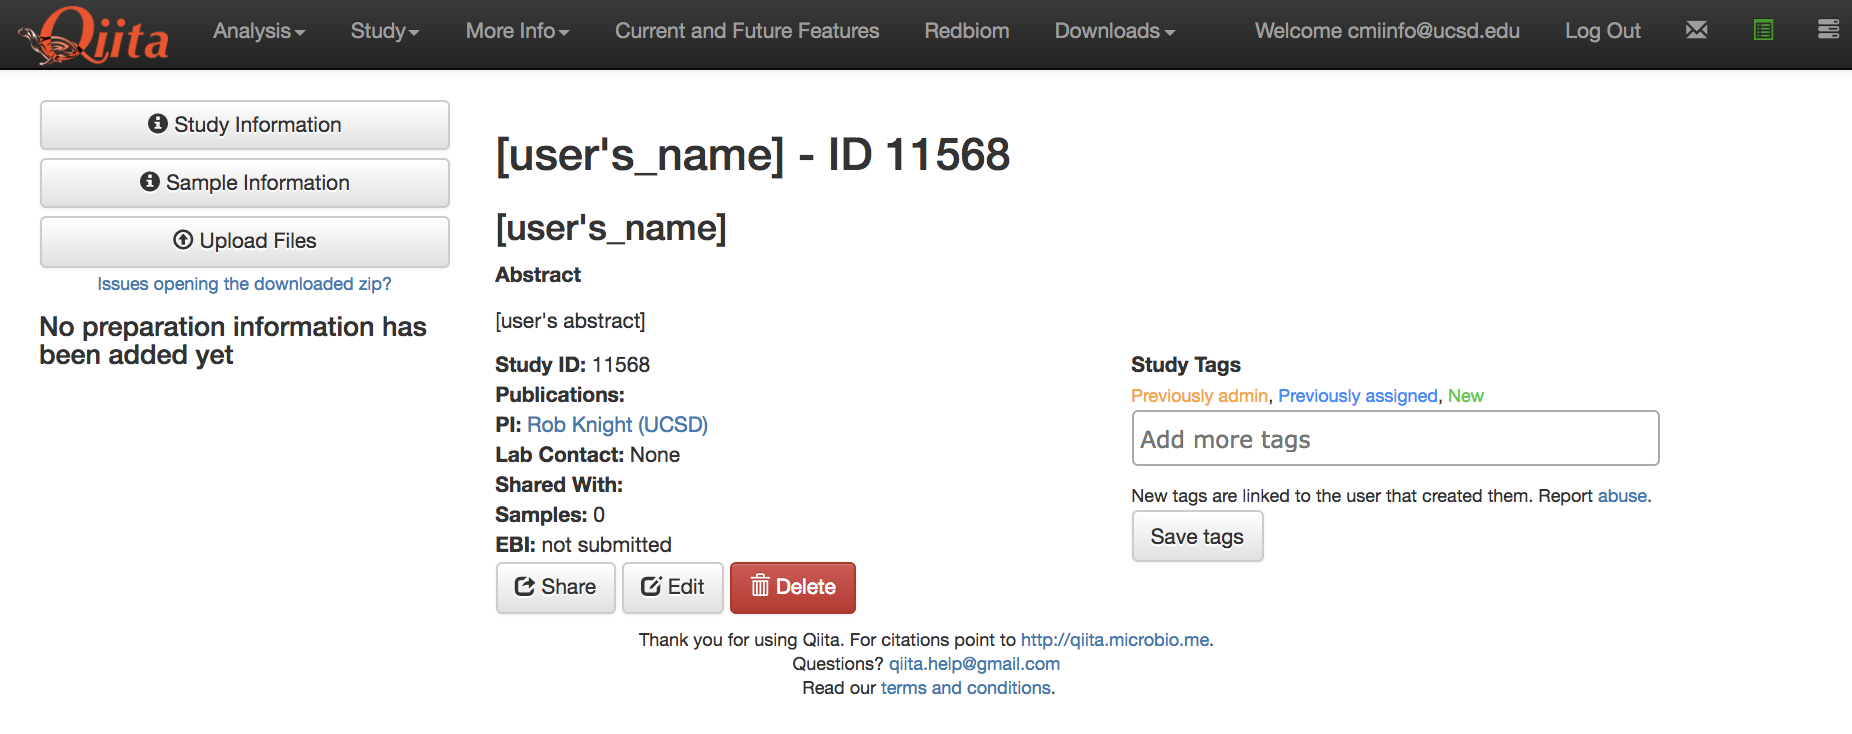
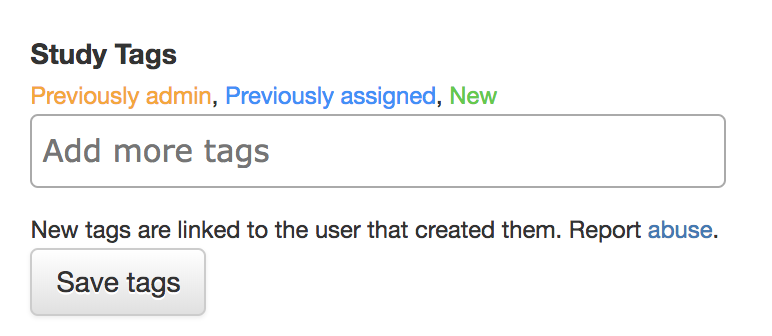
Since we are using a practice set of data, under “Study Tags” write “Tutorial” and select “Save Tags”. As part of our routine clean up efforts, this tag will allow us to find and remove studies and analyses generated using the template data and information.
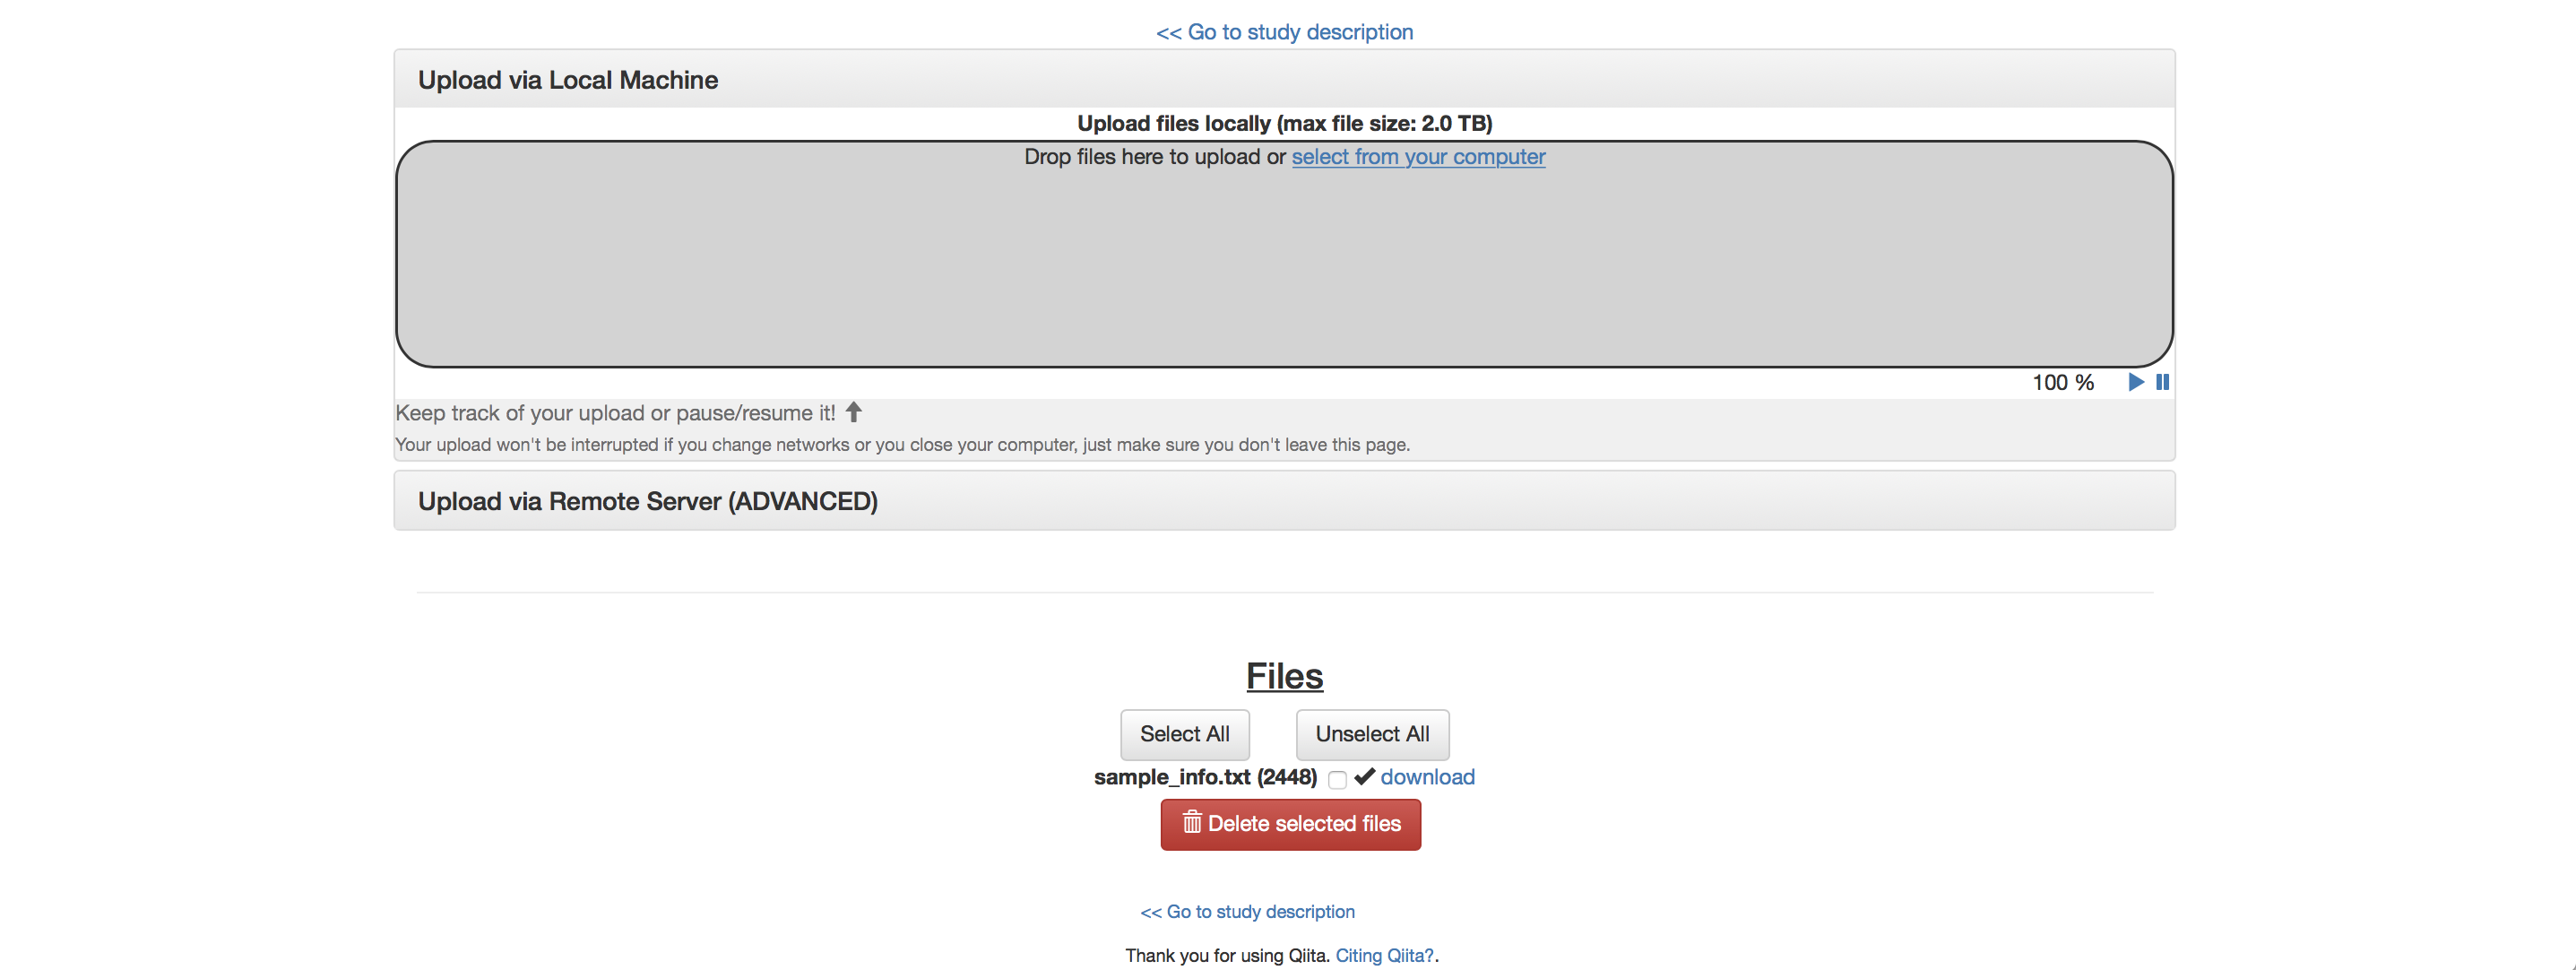
The first step after study creation is uploading files. Click on the “Upload Files” button: as shown in the figure below, you can now drag-and-drop files into the grey area or simply click on “select from your computer” to select the fastq, fastq.gz or txt files you want to upload.
Note: Per our Terms of Condition for use, by uploading files to Qiita you are certifying that they do not contain: 1) Protected health information within the meaning of 45 Code of Federal Regulations part 160 and part 164, subparts A and E; see checklist 2) Whole genome sequencing data for any human subject; HMP human sequence removal protocol 3) Any data that is copyrighted, protected by trade secret, or otherwise subject to third party proprietary rights, including privacy and publicity rights, unless you are the owner of such rights or have permission from the rightful owner(s) to transfer the data and grant it to Qiita, on behalf of the Regents of the University of California, all of the license rights granted in our Terms.
Uploads can be paused at any time and restarted again, as long as you do not refresh, navigate away from the page, or log out of the system from another browser window.
To proceed, drag the file named “sample_info.txt” into the upload box. It should upload quickly and appear below “Files” with a checkbox next to it below.
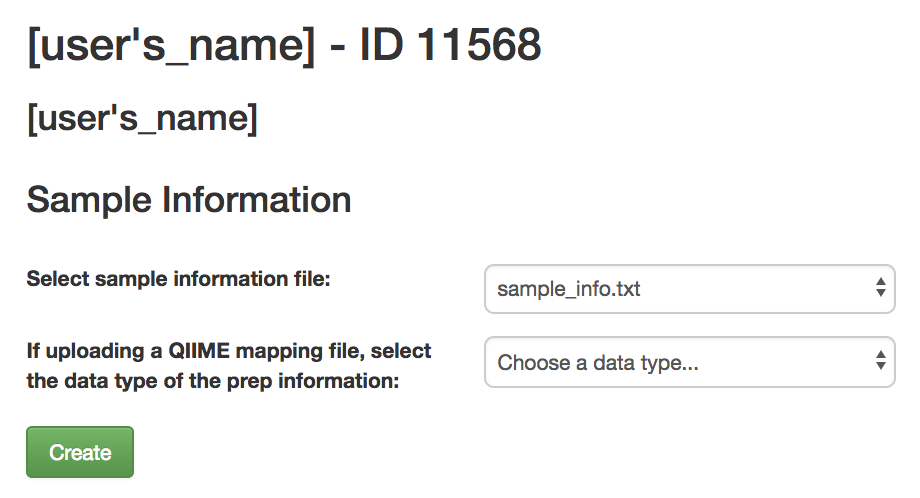
Once your file has uploaded, click on “Go to study description” and, once there, click on the “Sample Information” tab. Select your sample information from the dropdown menu next to “Upload information” and click “Create”.
If something is wrong with the sample information file, Qiita will let you know with a red banner at the top of the screen.

If the file processes successfully, you should be able to click on the “Sample Information” tab and see a list of the imported metadata fields.
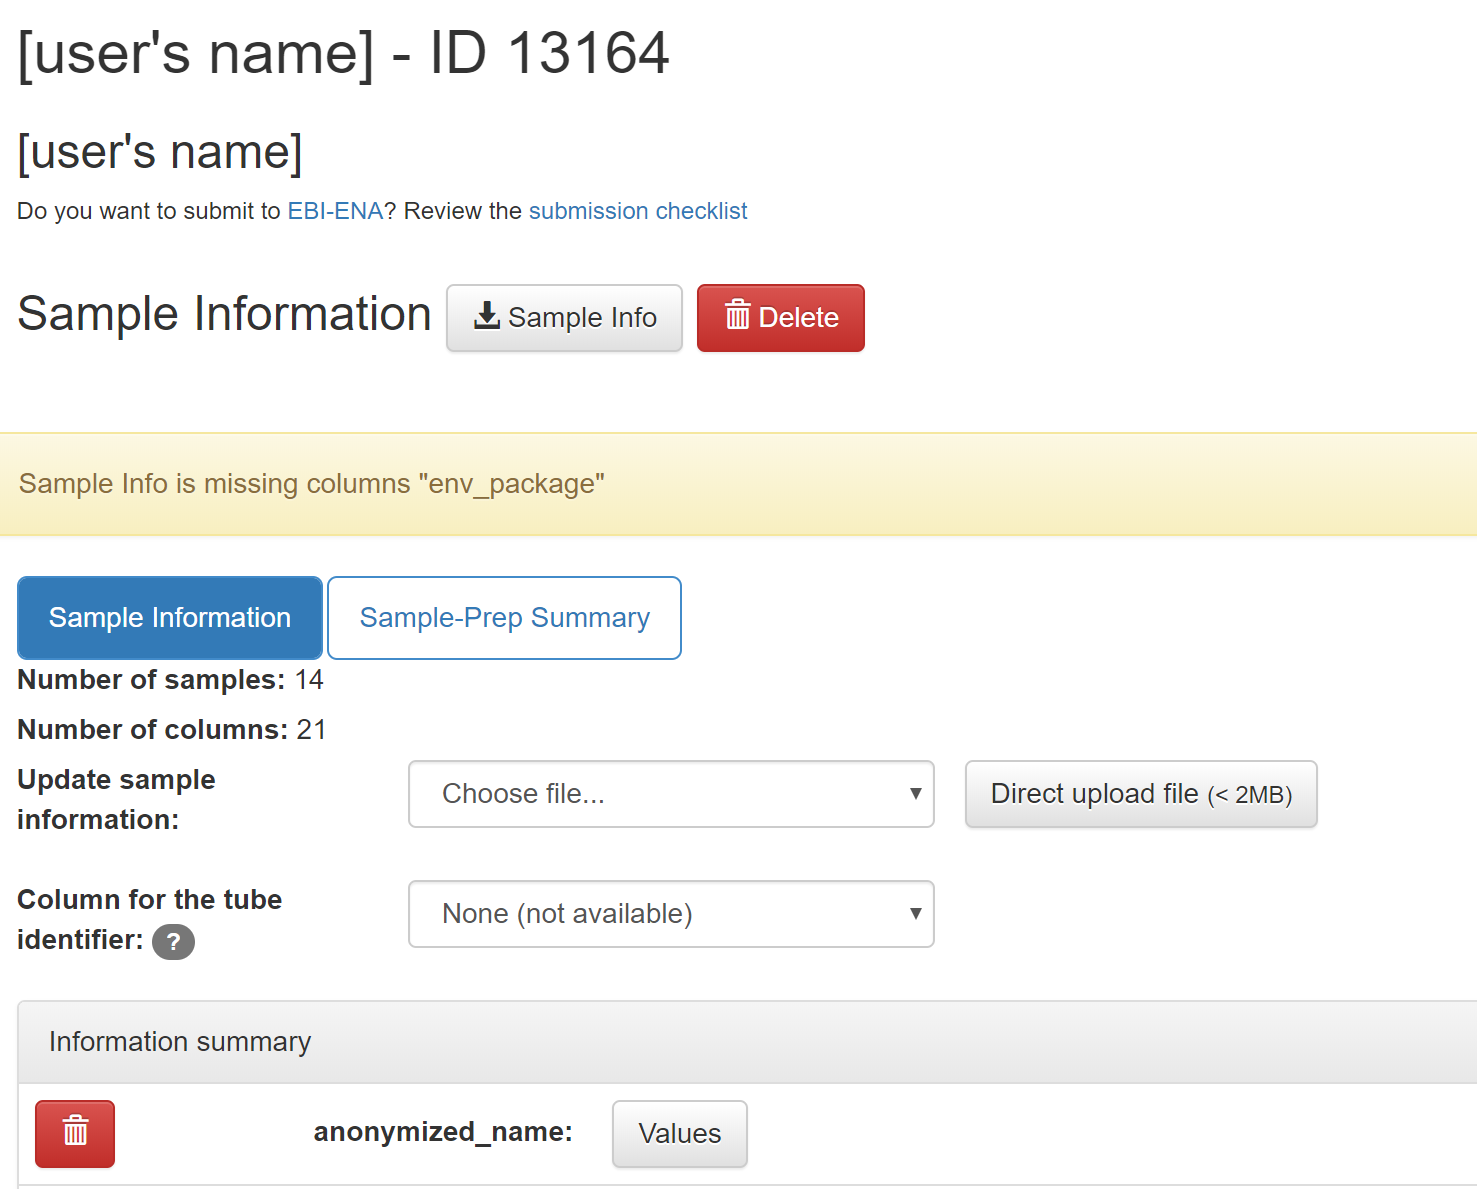
Note: The warning is to let you know this study is missing columns that are required for EBI-ENA submission. For more information you can visit the Send data to EBI-ENA information page.
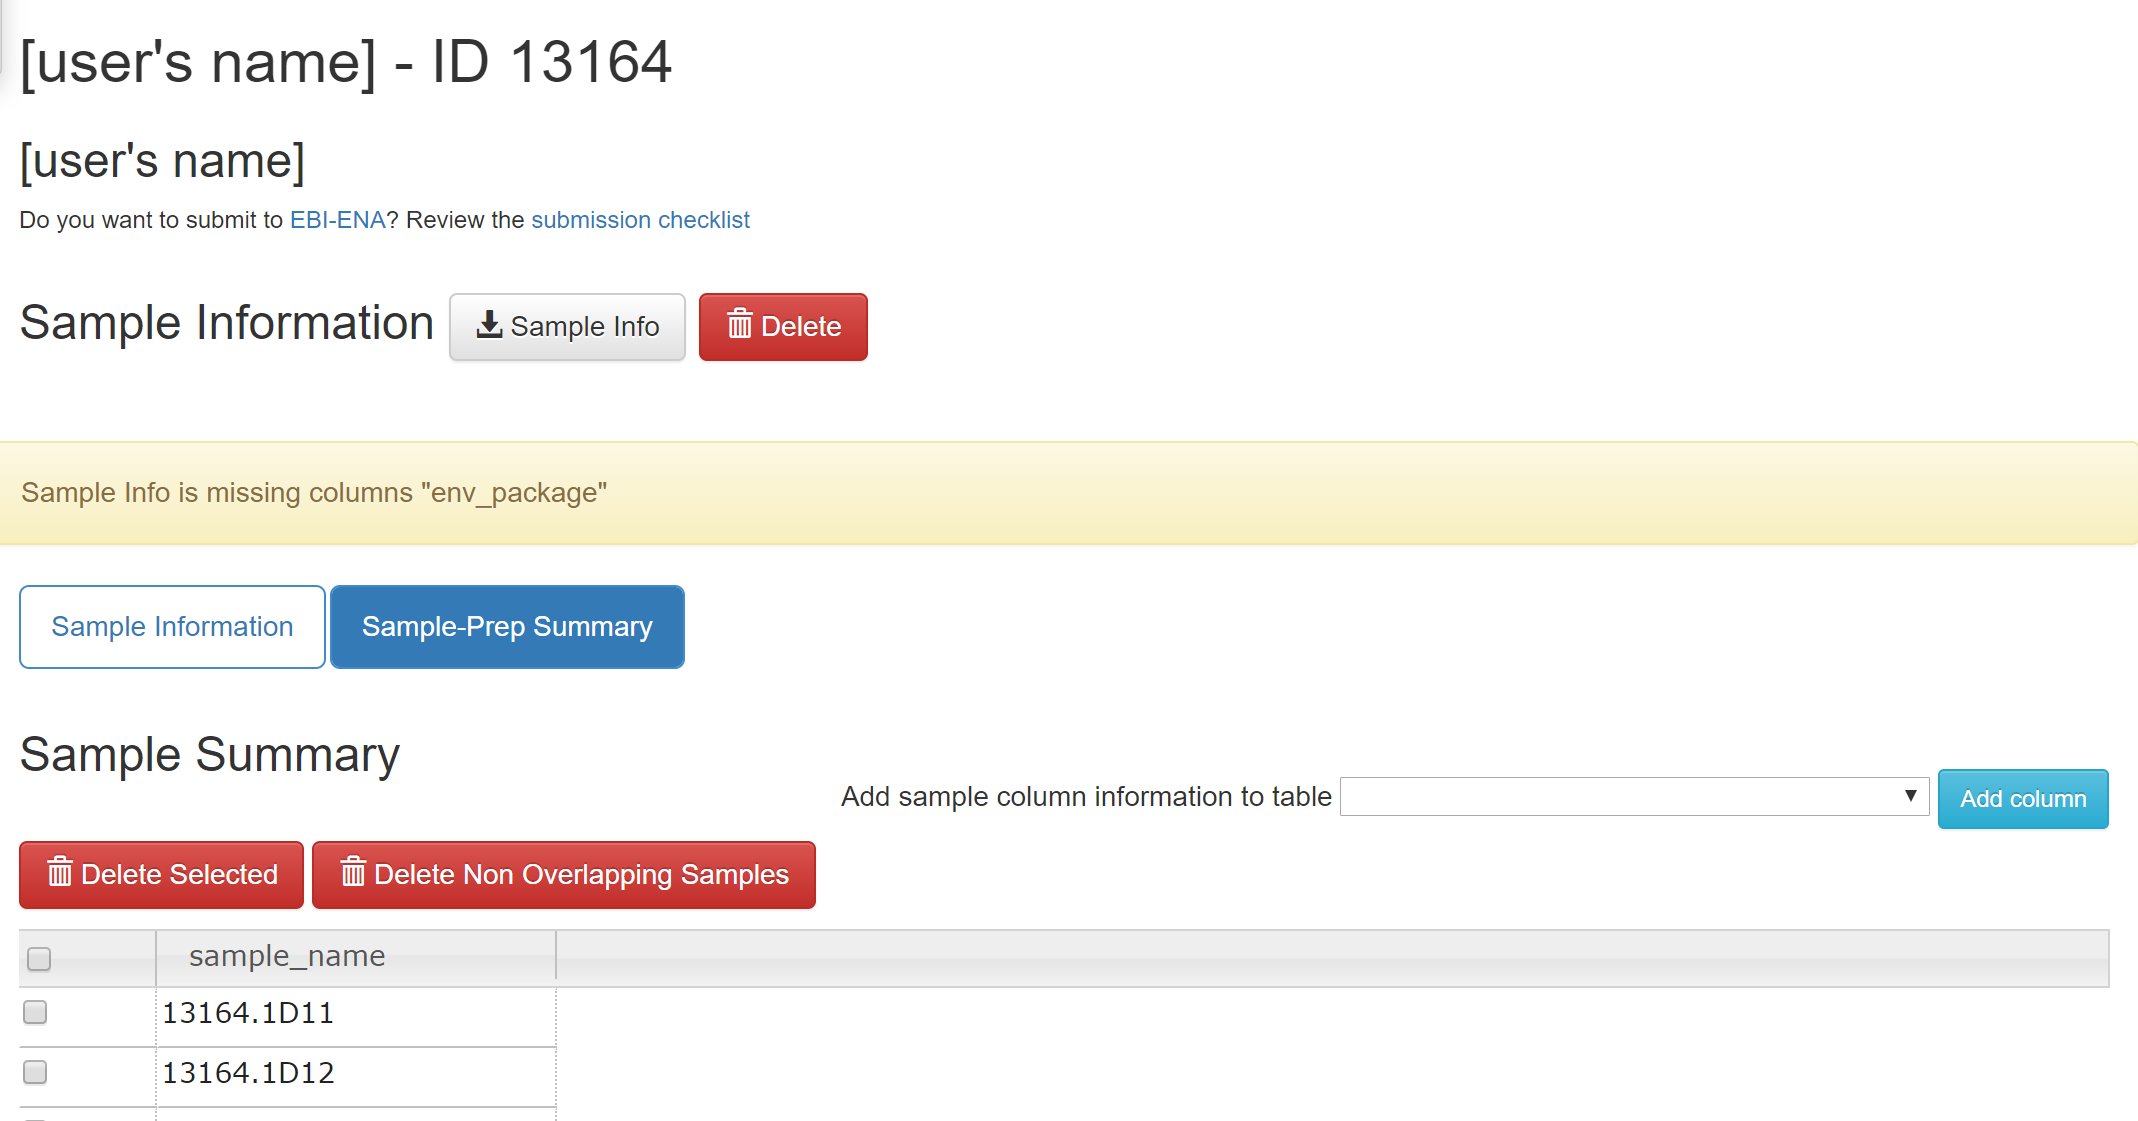
To check out the different metadata values select the “Sample-Prep Summary” tab. On this page, select a metadata column to visualize in the “Add sample column information to table” dropdown menu and click “Add column.”
Next, we’ll add 16S raw data and process it.
Next: Adding a preparation template and linking it to raw data